


There are a few generic rules floating about when it comes
to GROOMING EYEBROWS. Now, whether you want to follow the crowd or not; it is
totally up to you. If you don’t agree with the eyebrow arch guide or you dont want your eyebrow to be the same colour
as your hair, then that is totally up to you! From my personal opinion and
experiences, I’ve found that grooming eyebrows is something that you learn
through time and experimentation. Even if you pay to have an amazing HD eyebrow
consultation, you will still be left unsatisfied as that is simply not how YOU
want/like them. Once, I changed a bridesmaid’s curve shaped eyebrow into the ‘universally
accepted’ arch eyebrow as I thought she would be over the moon (She did look
fab!) but instead, she kindly requested to keep her old eyebrows. I was
mortified! BUT that taught me how to respect people’s preferences when it comes
to makeup.
Regarding the products I use, the same concept applies. There is such a wide choice available in the market from cream fillers to powder filler, it is up to you. I will be showing you how I use a mixture of pencil, powder and brow mascara, amongst a whole range of tools and brushes.
My fascination with eyebrows started back in my teenage
years and that is when I started plucking them in all different areas. Bad
mistake because now, they’ve stopped growing and I have lots of patchy areas! Anyways,
like I mentioned before, feel free to draw in (or maybe, don’t draw!) your
eyebrows the way and the shape in which you want them but here is a step by
step guide on how I’ve been filling my eyebrows recently to cover up patchy
areas, creating a shape that frames my face, the way I want them to.
One main tip: ALWAYS use two mirrors! A compact mirror for a detailed view, a bigger mirror for a far away view so you can see how the eyebrow looks from both angles and distances WHILST you are drawing on your eyebrows. Trust me, it makes a big difference!


1. The foremost important thing to do is to pluck stray hair and shape the eyebrows roughly in a desired shape. Sometimes, I find it easier to draw in my eyebrows and then pluck away the strays so I know I am not plucking away hair that is not meant to be plucked.
2. Then I comb the eyebrows in two directions (upwards and outwards) to smooth and tame the hair.


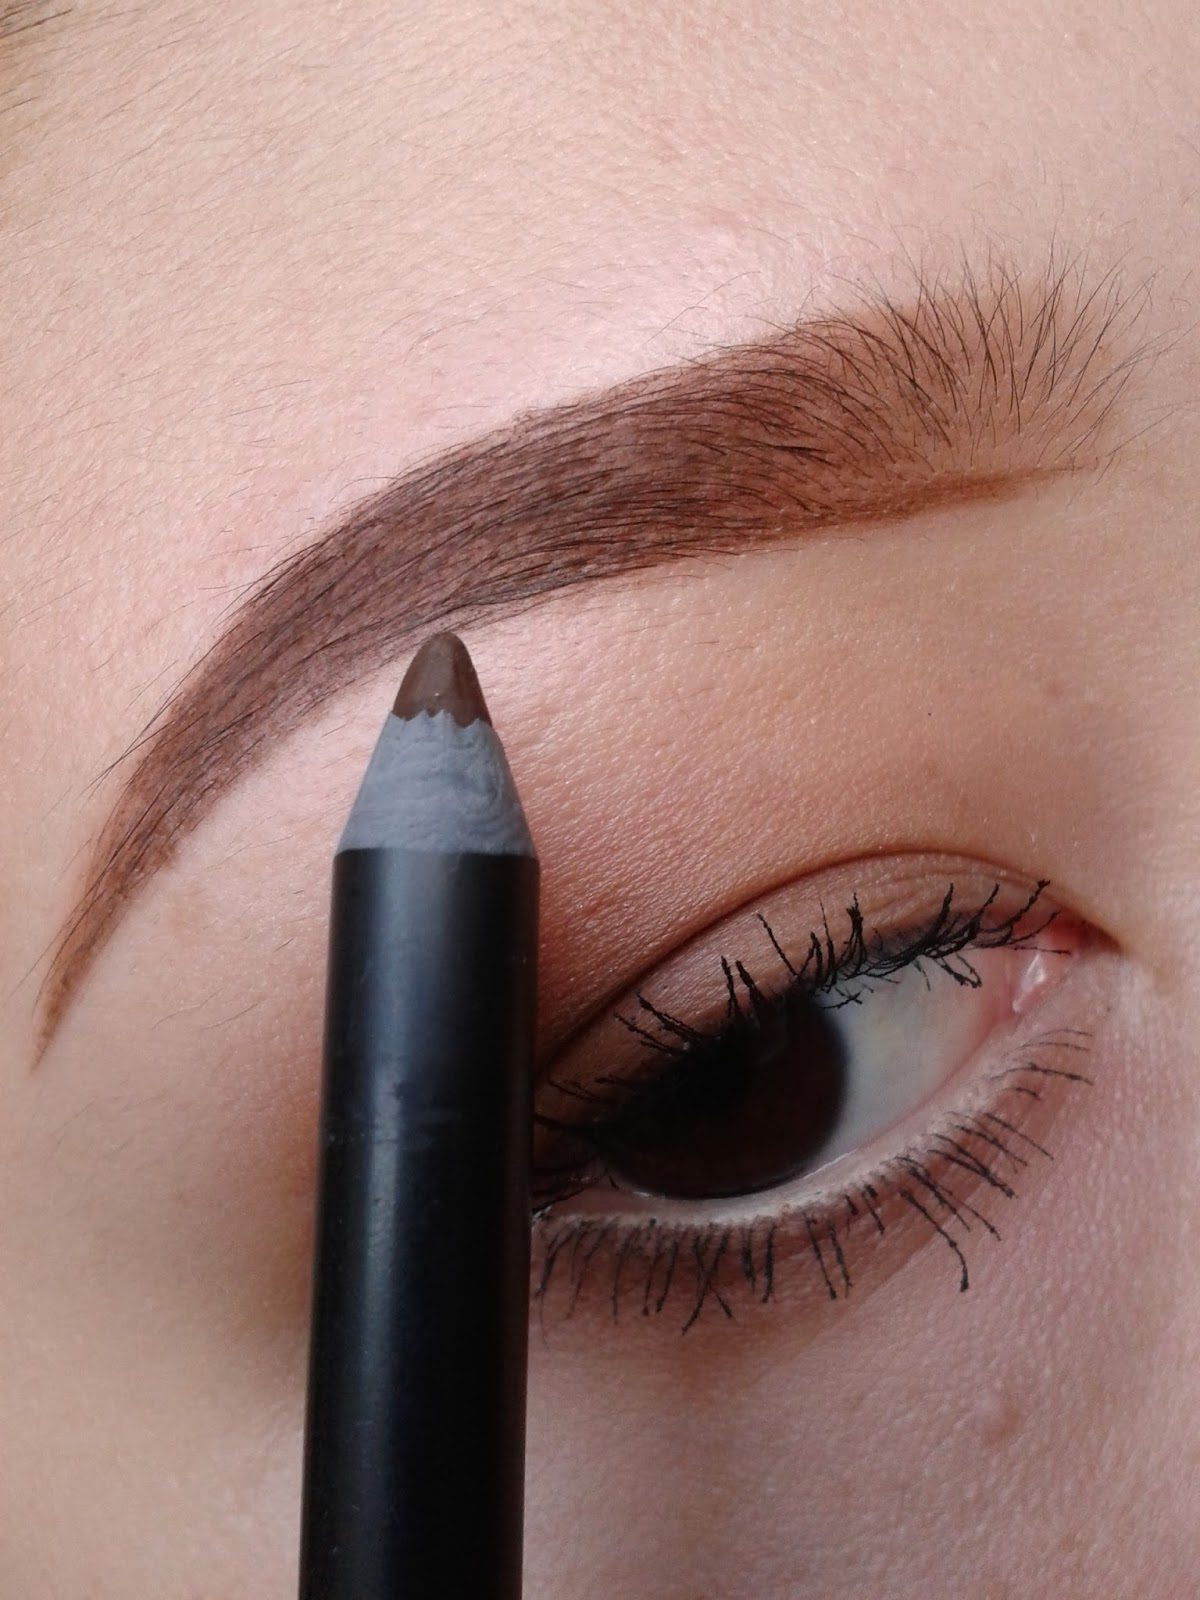
3. Initially, I fill my eyebrows with a Brow Definer by The Body Shop shade 01 Blonde & Auburn (£8). This eyebrow definer is one of my favourite eyebrow tools. I know many who don't like the texture of the product as you need to put quite a bit of pressure for the product to glide creamily onto the skin but it works perfectly for me as I hold the pencil loosely and lightly 'sketch' in the desired shape. This product doesn't smudge or run very easily.
4. Then I move onto darkening the shape using the brown contour powder in Face Form by Sleek Makeup shade Medium (£9.99). I find it easy to pack in the colour, whilst staying within the lines using a small angled brush by Real Techniques from their Starter Set (£21.99 @ Boots). Notice the inner part of my eyebrow- I only shade in the outer 3/4 of the eyebrow to create a gradient effect.

5. Now that the eyebrows are filled, the next step is to clean and sharpen the edges. I use a creamy liner Eau La La Liner by Sleek Makeup shade Molasses (£4.99) to outline the bottom edge of the eyebrow. This product is very versatile (can be used as a lip liner, eye liner, etc), pigmented and waterproof so along with the perks, you also have the downfalls- it glides on so easily on the skin that you need to lightly sketch the line in order to avoid a harsh line.
6.The next step is to blend the line onto the rest of the eyebrow. Making sure that I leave the inner corner lighter in colour than the rest of the eyebrow, I use the liner itself and an angled brush to feather out the line in a mini upward flick motion.


7. I set the eyebrows with a Brow Drama Sculpting Mascara by Maybelline shade Dark Brown (£4.99) by brushing the hair upwards first (to make sure the product is evenly applied) and then outwards to set the eyebrows in a desired shape.
8. Next, I use my trusty Pro Longwear Concealer by MAC shade NW15 which is a few shades lighter than my skin and I use it mostly for highlighting purposes. In this case, I apply it along with my Concealer Brush by Real Technique from their Core Collection (£21.99 @ Boots) to highlight the area below my eyebrow and also to give my eyebrow a clean, crisp edge. If I've made any mistakes in the previous steps, I use the concealer to 'erase' any mistakes too.


9. I use the excess concealer that is left on the brush to erase mistakes I might have made on the top of my eyebrows.
10. Blend! This concealer dries very quickly so I work on one eye before moving onto the other. I use Crease Brush by Real Techniques from their Starter Set (£21.99 @ Boots) which is dense and fluffy- perfect for blending. Whilst blending, I'm always careful, trying not to smudge/ erase the sharp eyebrow lines!

Here is the final result (left) compared to the photo I started with (right). Finito!

3 comments:
Those look just PERFECT!!!
Loving your blog!
www.magdalennes.blogspot.com
Hey girl, come to see my work too please :)
x.o
how long does it usually take you to do this routine? and also i was wondering if you could help me with some tip to fill in the part of my brow where i got a visible scar and the brow pencil/powder that i use does not stick to that area . so, even if i fill in my brow good the scar reamins even more visible . please help me !
Post a Comment